
How to Install a Cold Plunge on Decking: A UK Installer's Guide


If you've bought — or are about to buy — a cold plunge for the garden, the tub itself is the easy part. Where people come unstuck is everything underneath and around it. A cold plunge on decking isn't a load problem in the way a hot tub is; it's a water problem. You will be moving a lot of cold water in and out, often in winter, and the deck has to cope with that week after week without rotting, staining, or turning into an ice rink.
We install composite decking across Merseyside and Cheshire, and cold plunges are one of the fastest-growing requests we get. This guide is the drainage-led, installer's-eye view: how to get the base right, where the water actually goes, and how to integrate the tub into the deck so it looks built-in rather than dumped on top.
Weight isn't the headline — but don't ignore it
A cold plunge is far lighter than a hot tub. A typical single-person outdoor tub holds around 300–500 litres and, with a person in it, sits at roughly 350–550kg over a footprint of about a metre square. That's real weight, but it's a fraction of what a filled hot tub and its bathers put down.
That doesn't mean you can drop it anywhere. Point-loading through four feet or a narrow base can still overload a joist bay that was only designed for foot traffic. If the plunge sits on a deck, the subframe under that zone needs to be specified for it — closer joist centres, a doubled joist, or a dedicated bearer picking up the load and carrying it to the ground. If you want the detail on why the frame matters more than the boards, our guide on what's under your decking walks through it. What's under your decking matters The short version: get the base right once and you never think about it again.
The real issue: drainage and dump volume
Here is the difference between a plunge and a hot tub. A hot tub is filled once and topped up. A cold plunge, especially without a chiller and filter, gets emptied and refilled regularly — and when you empty it, hundreds of litres come out fast.
You cannot just pull the plug and let 400 litres flood across the deck and pool against the tub base. Standing water is what kills timber subframes and rots the housing on chiller units. Two things solve it.
Drain the water away from the deck, not onto it
Most tubs have a drain valve at the lowest point that takes a standard garden hose. Run that hose to a proper outfall — a soakaway, a gully, or at minimum a gravel bed and drainage area well away from the house and the deck footings. A soakaway should sit at least five metres from any building and 2.5 metres from a boundary. One local caveat worth knowing: much of Merseyside and Cheshire sits on clay, and clay often can't soak water away fast enough for a soakaway to work. On heavy clay ground a gully or channel run to an existing surface-water drain is usually the better route. If your plunge has no gravity fall to a drain, a cheap submersible utility pump gives you full control over where the water ends up.
Fall the deck and keep air moving underneath
The deck surface around the plunge should shed water, not hold it. We build in a slight cross-fall — around 1:100 — so splash-out and rain run off rather than sitting under the tub. Just as important is airflow under the boards: a deck that can breathe dries out between uses. If the space under your deck is boxed in, damp lingers and the frame suffers. Our post on composite decking ventilation covers how much clearance you actually need. Composite decking ventilation
Freeze and thaw: the bit people forget
A cold plunge earns its keep in winter, which is exactly when the base is most vulnerable. Water that splashes out and sits in a low spot will freeze. Freeze-thaw does two things: it makes the deck surface genuinely dangerous underfoot, and repeated ice expansion works away at any pooling point in the structure.
Composite boards help here because they don't absorb water the way timber does, but no board is grippy when it's glazed with ice. Choose a board with a strong slip rating for the plunge zone — the grooved or embossed faces on ranges from Millboard, Trex and NewTechWood perform far better wet than a smooth timber deck. Keep the fall we mentioned so meltwater runs off, and never let a drain hose discharge across the deck where it can refreeze. If you're plumbing in a chiller, lag the exposed pipework so it doesn't split in a hard frost.
Power and plumbing: plan it before the boards go down
If you're running a chiller-and-filter setup rather than manually emptying and refilling, the tub needs a proper outdoor electrical supply — an RCD-protected circuit installed and certified by a qualified electrician, never an extension lead trailed out from the house. It's far cheaper to run that supply while the base and frame are open than to chase it in afterwards, so we coordinate the electrics, the water route and the deck build together.
It's also worth thinking through how the tub gets filled. A cold-hose fill of several hundred litres takes time, so most people settle into one of two patterns: a chiller-and-filter tub that recirculates and is only drained occasionally, or a simpler manual setup that's emptied and refilled regularly. The second is exactly the one that leans hardest on the drainage above — the more often you dump the water, the more it matters that it has somewhere proper to go.
Integrating the tub so it looks built-in
The plunges that look best — are the ones set into the deck rather than standing proud on it. There are two common approaches.
The first is a flush deck-level install, where the tub sits in a framed opening so the rim finishes level with the boards. It looks superb and makes getting in and out safer, but it demands an access hatch, as you must be able to reach the drain, the pump, and any chiller for servicing. Build a removable board section or a hidden hatch over that zone from day one — retrofitting access into a finished deck is miserable.
The second is a raised surround, where the tub sits on its own pad and the deck is built up around it to hide the shell and create a step or bench. This is simpler than a flush install because the deck isn't framed around the tub's full depth — but you still need to build in access to the drain, pump and any chiller, so plan a removable board section or hatch over the servicing points from the start. Done well, it reads as a designed feature rather than an afterthought.
Either way, leave a small maintenance gap around the shell so water can escape and air can circulate — sealing a wet tub tight against the boards traps exactly the moisture you're trying to get rid of.
Making it a year-round space
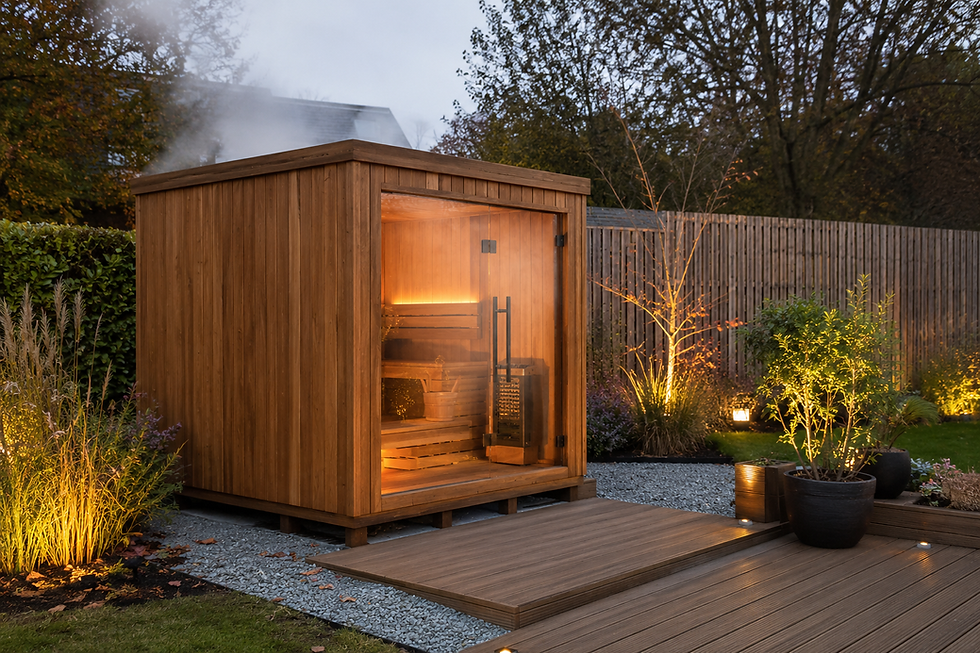
A cold plunge is brilliant in July and character-building in January — but most people use it far more if the space above it is sheltered. A louvred veranda or pergola over the plunge zone means you can use it in the rain, keep leaves and debris out of the water, and pair it with a hot tub or sauna for genuine contrast bathing — hot to cold and back again, which is where a single tub turns into a proper wellness corner and, frankly, where the more rewarding projects are. If that's the direction you're heading, our Deponti pergolas and verandas page covers the shelter options and how they integrate with a deck.
Getting your cold plunge on decking right first time
None of this is difficult when it's planned before the boards go down — and all of it is expensive to fix afterwards. Spec the subframe for the load, decide where the water goes before you cut a single board, build in a fall and an access hatch, sort the electrics early, and choose a slip-rated board for the plunge zone. Do that, and a cold plunge on decking becomes a feature you use for years rather than a maintenance headache.
If you're planning a cold plunge, sauna or wider garden wellness setup in Merseyside or Cheshire and want it built to last, get in touch — we're always happy to talk through the base and drainage before you commit to a tub.


Comments